Do Go Gradding Waterfalls
After weeks and weeks of wet and windy weather the forecasts finally started to talk of the type of conditions that get us photographers really excited: settled conditions, clean winter light and probably the holy grail for those of us living in a landlocked county, frost AND fog. But instead where I live it’s just been flat grey skies and a tugging northeasterly wind, the kind of conditions that can sap your body heat away and any motivation to head out into exposed locations to stand behind a camera for a sustained period. But these conditions are perfect for finding those tucked away places out of the wind to look for details. Waterfalls are perfect subject matter and can keep me happy for hours on end but in Winter there will often be little tree canopy to provide deep shade which even on an overcast day can lead to difficulties with hot spots in the white water. If like me you prefer to make your images work in camera or use film and have no choice these tips may well help you.

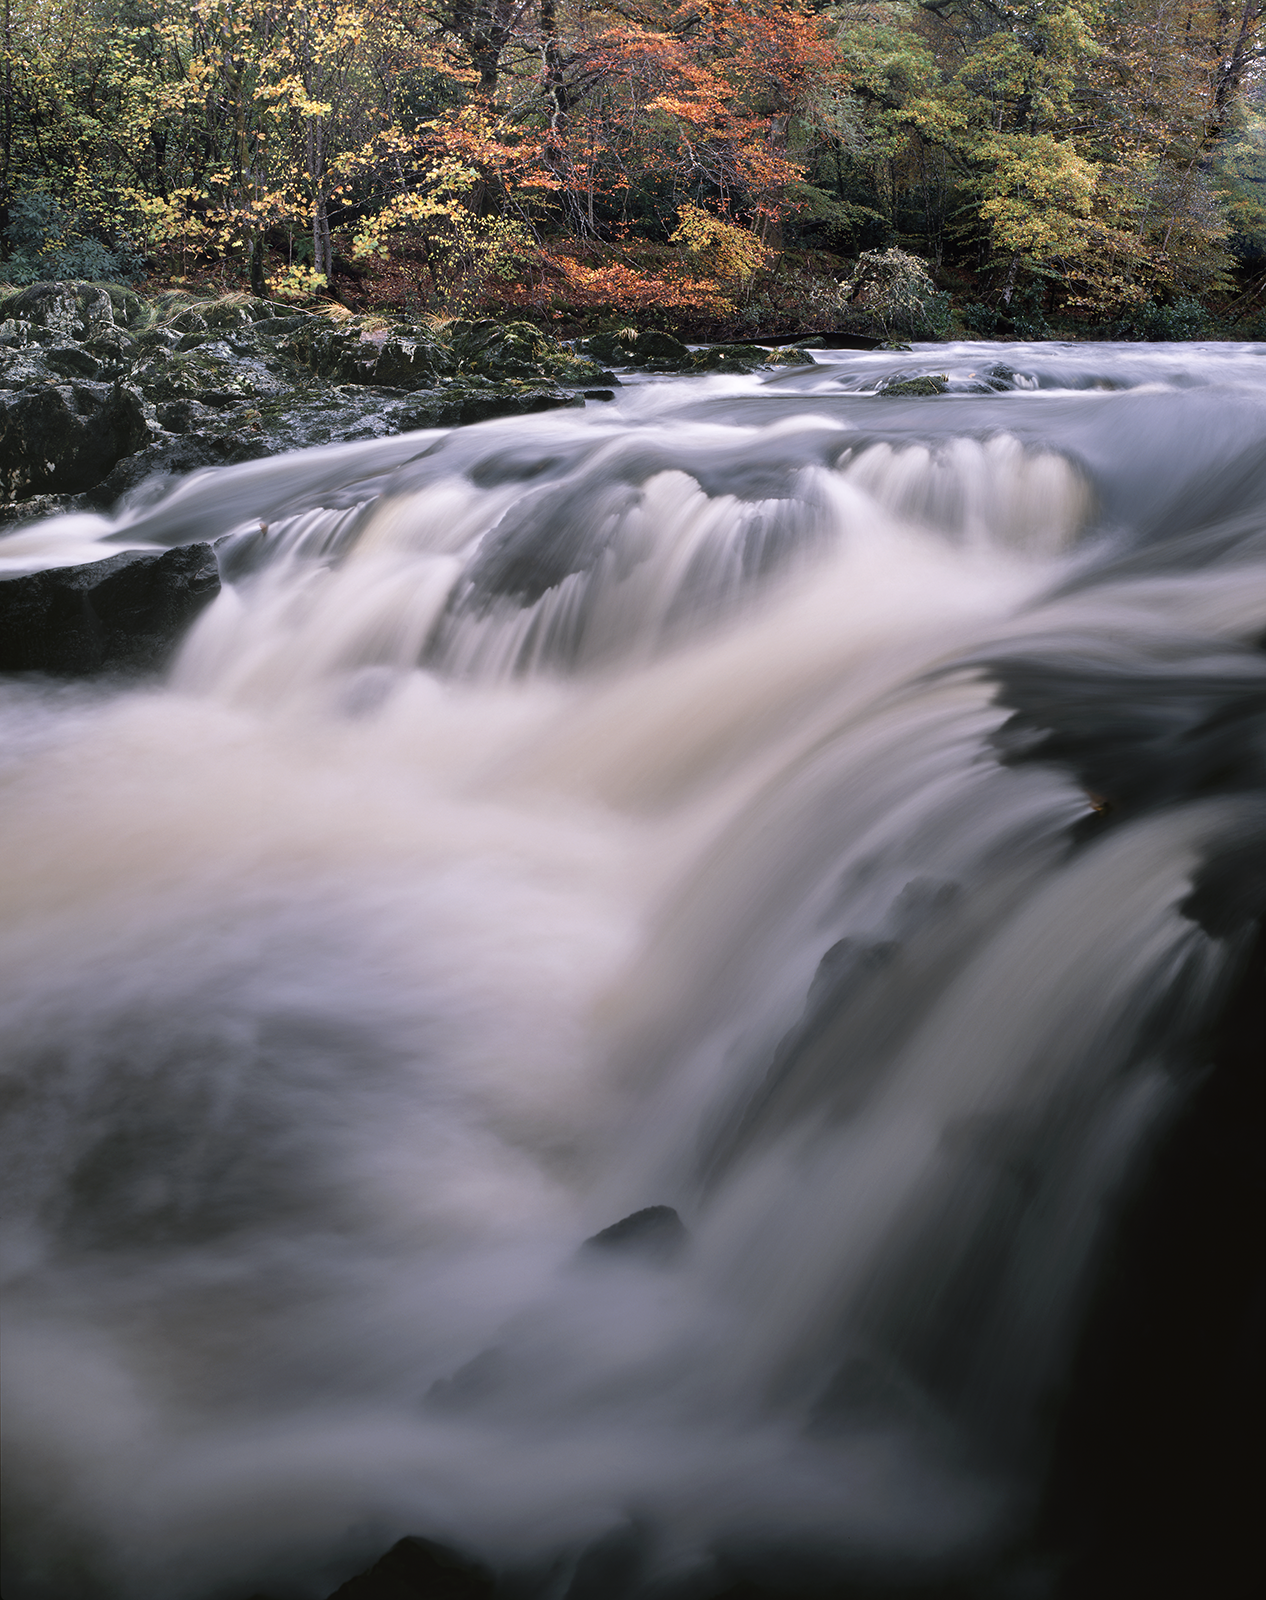
Linn of Tummel. Sony A7r4. 0.6 medium nd grad applied down to the bottom of the white water, 0.3 hard grad applied UP to the top of the white water.
So, why bother going to the effort of getting one exposure right in camera when blending exposures in post processing is so straightforward, often with just a couple of mouse clicks? In my experience I have found that trying to blend multiple images where dynamic movement is captured can cause problems with ghosting; the effect of the software struggling to decide exactly what to include as it’s in a slightly different place in each image. Wind blown leaves are the worst but those edges where flowing water interacts with rock etc often confuse the software even with with deghosting filters applied. Personally I also prefer to do as little post processing to any image as I can and well applied ND grad filters help with this.
For years I’ve carried two 0.3 (one stop) hard grads as part of my filter kit to help manage possible blown highlights within a chosen foreground, particularly waterfall scenes. These are applied from opposite sides of the filter holder and are far more useful than an ND ‘stripe’ filter as the zone of gradation can be expanded or contracted to suit the exact area that needs controlling. Below are a set of images of overlapping filters to show their flexibility. Note, for this illustration I’ve used two 0.6 (two stop) hard grads to exaggerate the effect.


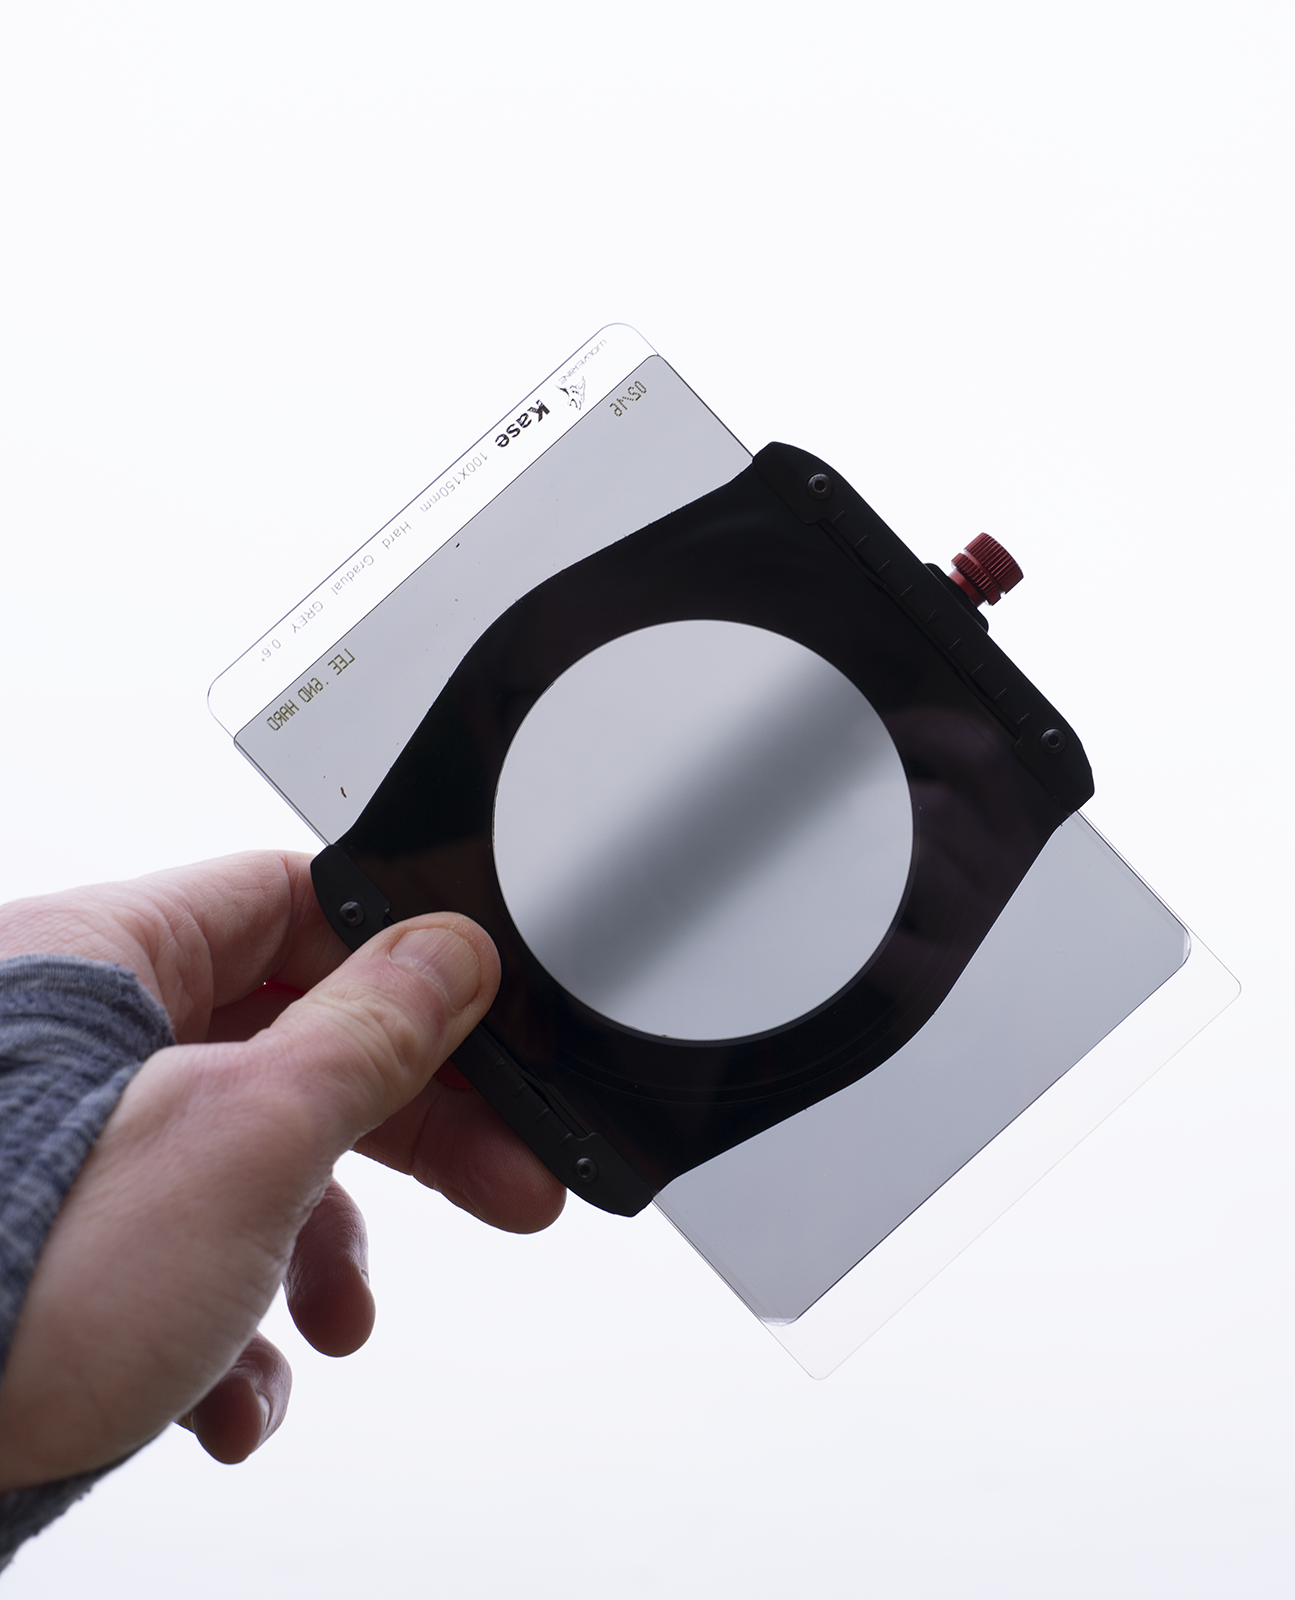
As you can see, there will be multiple ways to set the filters to suit the scene and assuming you’re using a filter holder system you will be able to angle to suit any direction of flow as well as any width of flow. The grad strip doesn’t need to pass through the centre of the image either. If you’re using two 0.3 (one stop) grads the overlapping area will be knocking back the light hitting the sensor by two stops. The luminosity of the rest of the scene will have been darkened by one stop so you will need to now adjust this back on your camera by doubling the previous exposure time ( ie 1/2 second @f11 will now be 1 second at f11). Should the exposure duration be important for the effect you want from the moving water simply open up the lens by one stop ( ie 1/2 second @f11 will now be 1/2 second @ f8).
In order that detail was shown on either side of the flowing water and that the highlights were retained in the brightest splash pools all of the images below were made with the assistance of overlapping grads.

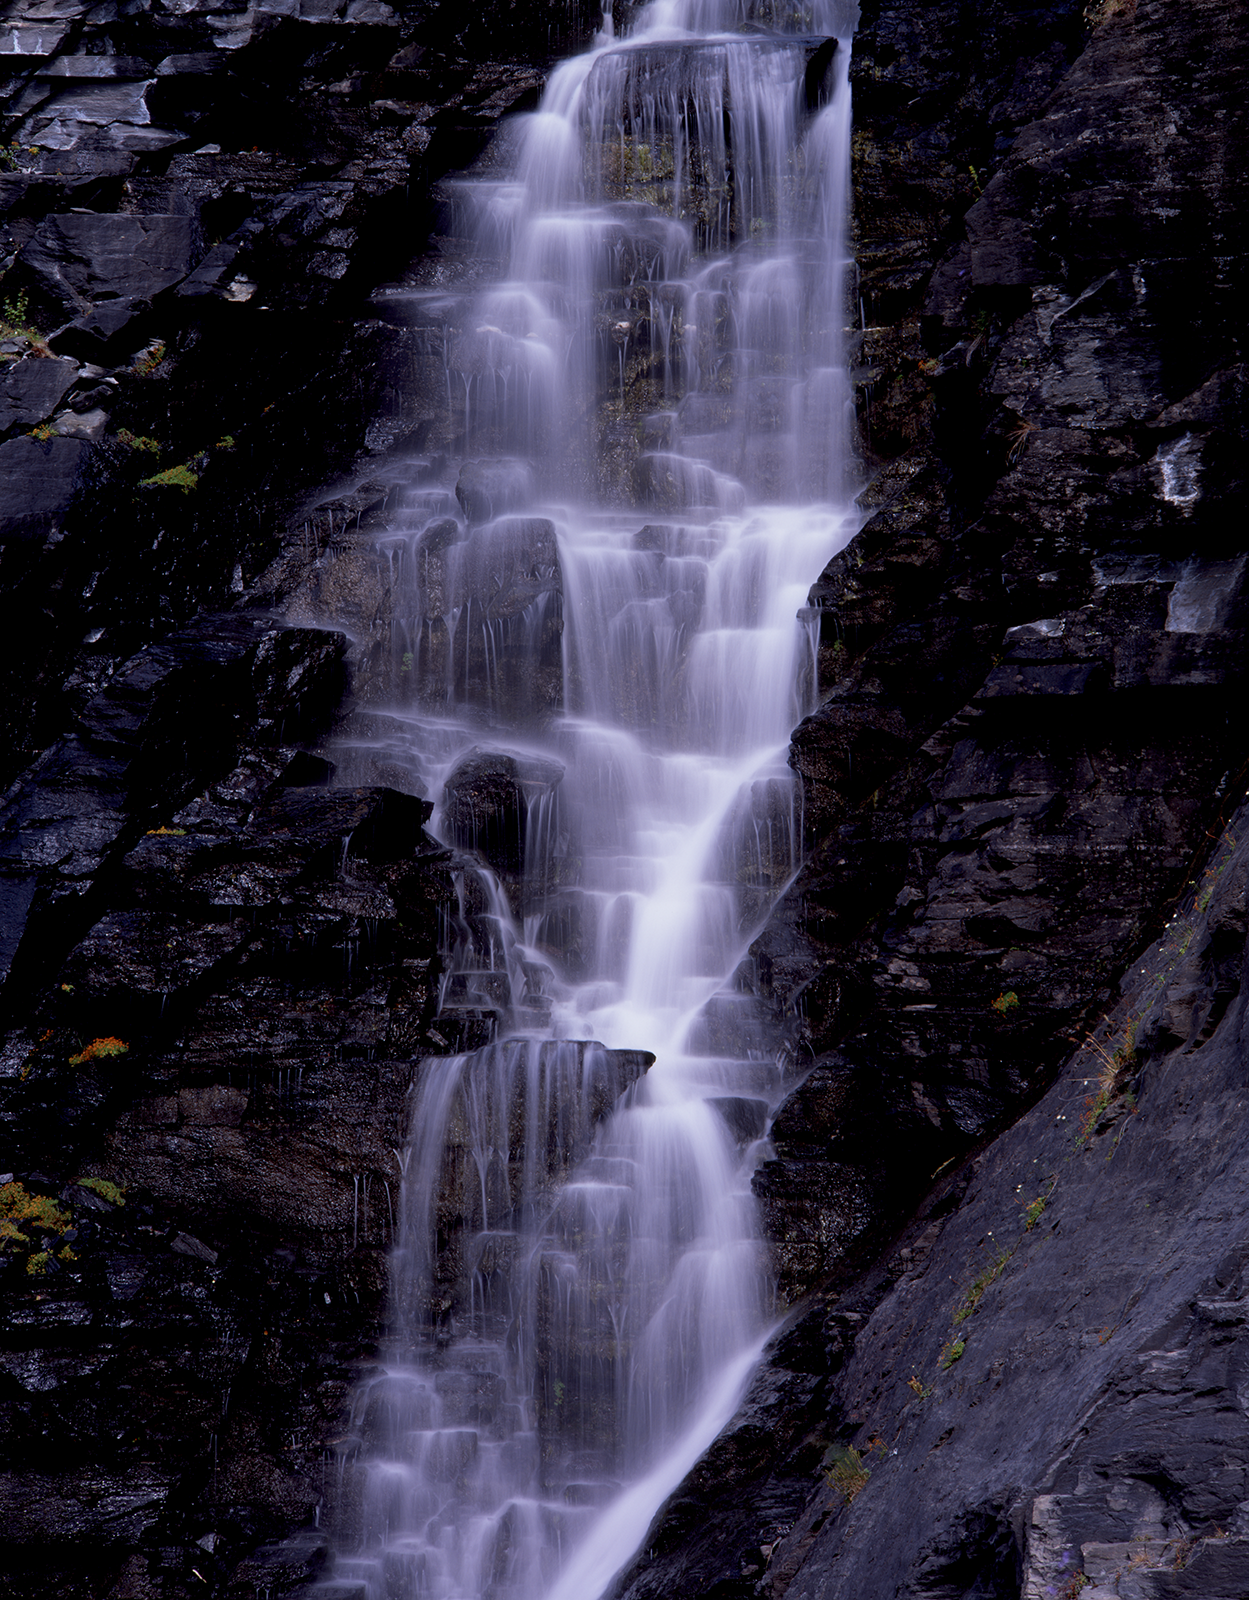


I’ve always found the problem solving required to make these images work in camera quite a lot of fun and sometimes it can take a fair while to solve the problems thrown up by moving water. Four of the above images were shot on Fuji Velvia slide film so careful spot metering was required but even a one degree spot meter can easily be fooled by the fact that light ‘accumulates’ in fast moving water as exposure times lengthen. Expect to compensate by -0.3 stops where white water is concerned as your cameras metering system is reading in real time whereas over a longer period ( 1 second or more) white water fills in the gaps and will burn out. Overlapping grads were required with the following image just to control the small highlight in the middle of the image.

Puck’s Glen, Strath Eck. Ebony 45su. Fuji Velvia transparency film. 2 x one stop grads.

Water Break’s It’s Neck. Sony a7r4. Two one stop grads overlapping in a column on the left side.
I hope you find this article useful and get the chance to go and have a play with your filters on your next waterfall visit. Thanks very much for visiting and reading. Oh, and apologies to the terrible take on a song title for this post.
See you soon.